
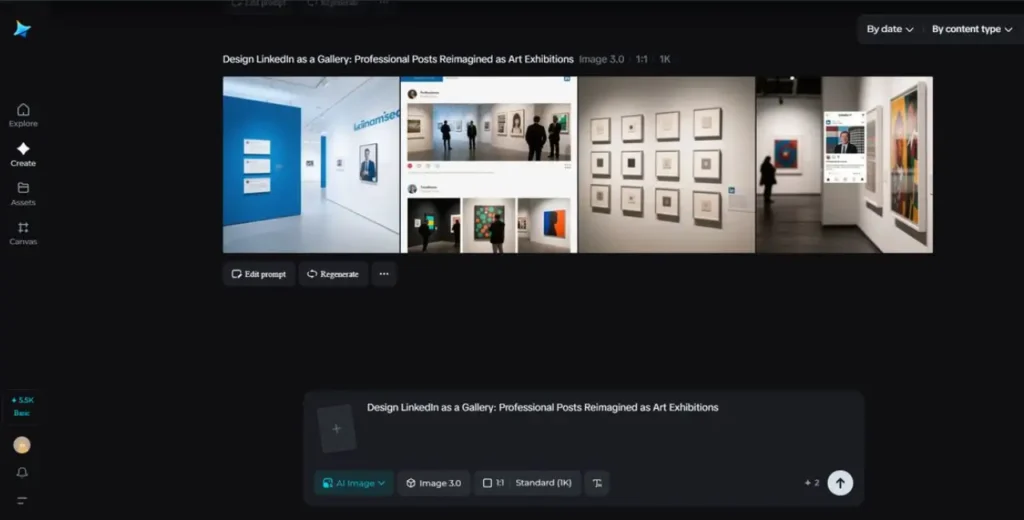
Open your LinkedIn feed the way you’d enter a small, thoughtful gallery: slow down, look for the curator’s note, and imagine the story that joins the pieces. When you treat a professional post as an exhibit rather than a status update, everything changes — the image becomes a focal object, the caption reads like wall text, and the comments are visitors swapping impressions. If you want to prototype visual concepts quickly, start by sketching a moodboard with an AI photo generator so you can test lighting, texture, and composition before committing to a full shoot.
AI image generators like Dreamina help translate those sketches into cohesive decks and shareable assets, making your feed feel like a series of intentional rooms rather than a scrolling corridor.
Why treat LinkedIn like a gallery?
Because galleries teach attention. They slow the viewer, set an entry tone, and sequence content so each piece amplifies the next. On LinkedIn, most content competes for seconds; a gallery-minded post competes for an experience. When you curate, you ask viewers to spend thirty seconds to two minutes: enough time to read, reflect, and respond thoughtfully. That deeper engagement changes the quality of responses — from “Nice!” to real conversation.
The anatomy of an exhibition-style post
Think in terms of three layers: object, wall text, and placard metadata.
- Object: a crisp visual — a portrait, process shot, or stylized data graphic — that reads at thumbnail size and rewards a click.
- Wall text: the caption that supplies context, not a repeat of the image. It’s short, evocative, and layered; lead with a sentence that hooks, follow with an insight, close with a question that invites reflection.
- Placard metadata: one-line facts under the caption — role, date, project title — formatted like exhibition labels.
This structure makes your post scannable and meaningful for both browsers and slow readers.
Sequencing: make your carousel a tour
A carousel is your mini-exhibition. Don’t just stuff images in chronology. Arrange them like rooms: establish mood, dive into detail, reveal a decision, end with a takeaway. Consider pacing — a wide establishing shot, two detailed close-ups, a process diagram, then a people-at-work portrait. Each card should be legible alone; together they form a narrative arc.
Dreamina’s curator kit — three short steps to craft an exhibit post
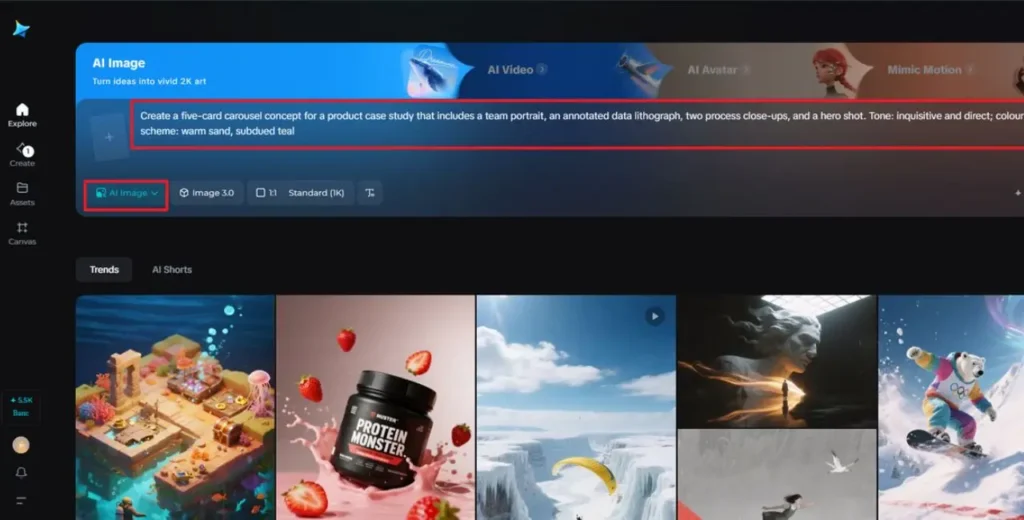
Step 1: Compose a text prompt
Go to Dreamina and outline the exhibit idea of the post: object, mood, palette, and the sizes you require as output.
For example: “Create a five-card carousel concept for a product case study that includes a team portrait, an annotated data lithograph, two process close-ups, and a hero shot. Tone: inquisitive and direct; colour scheme: warm sand, subdued teal.”
Be specific about the crops and the tactile elements you need.
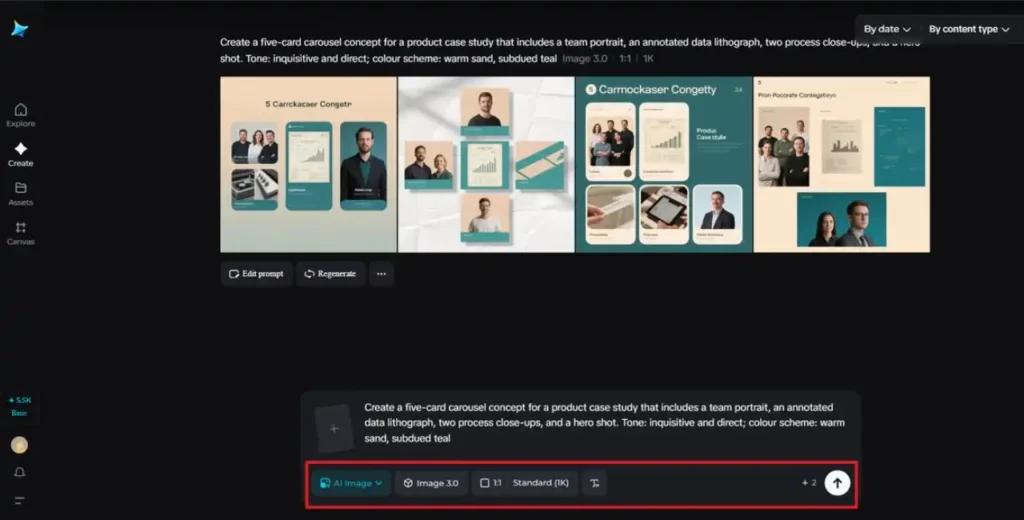
Step 2: Adjust parameters and generate
Choose a model that prioritizes layout and texture accuracy, select aspect ratios of carousel frames and square thumbnails, and resolution—1k for drafts, 2k for final. Tap on Dreamina’s icon to create variations; check for composition, negative space, and how the sequence looks when swiped.
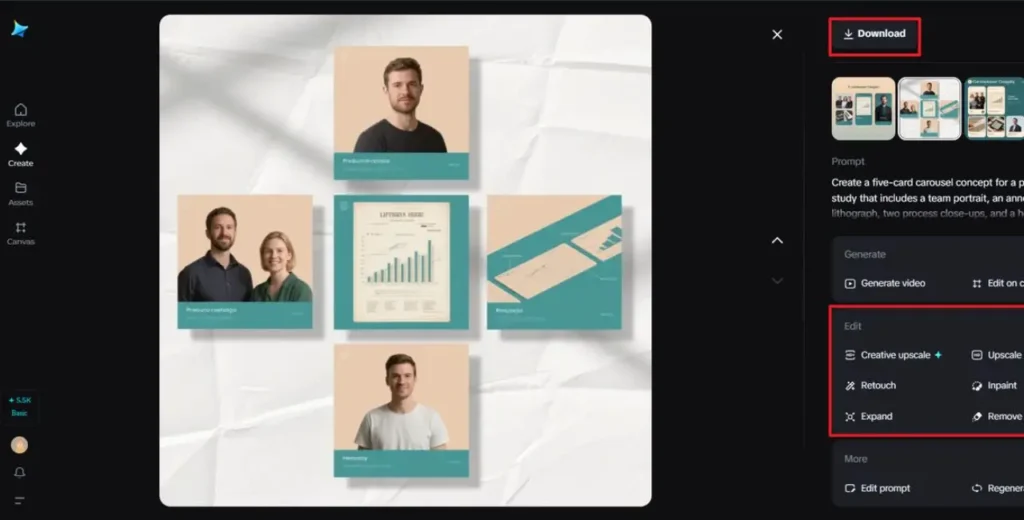
Step 3: Tailor and download
Refine focal areas with Dreamina’s creative upscale, inpaint, expand, remove, and retouch to edit. Extend to permit safe margins around crops, get rid of artifacts, and retouch color balance for print and screen. Once the sequence looks cohesive, click Download to save production-ready PNGs and a templated caption outline.
Visuals that read like objects
Professional imagery can be precious without being precious. Use negative space, consistent lighting, and tactile details that suggest craft. A single object shot on a monochrome backdrop — a prototype, annotated sketch, or fabric swatch — can feel as potent as a full portfolio spread if photographed with intention. If you’re exploring textures and colorways for a project series, run quick studies with Dreamina’s AI logo generator to test emblem treatments and how they sit against different backdrops; use the best directions as starting points for full production.
Captions that do the curatorial work
Treat captions as short essays, not bullet lists. Start with a declarative or surprising sentence, follow with a micro-story (the problem you encountered, the pivot you made), and finish by inviting interpretation: “What would you have tried?” If you’re sharing failures, frame them as case studies — problem, attempt, learning — and make the learning portable for readers.
Making data beautiful and humane
Data becomes gallery-worthy when you humanize it. Replace dense spreadsheets with a single, expressive chart treated like a lithograph: large type, generous margins, and a short interpretive placard. Use annotations like arrows or hand-drawn highlights to guide the eye. People respond to data that tells a story; design it so a reader can narrate it in one sentence.
Interaction as guided tours
Respond to comments as a curator might to gallery visitors: expand on an idea, point to a related post (a previous “room”), and occasionally post a behind-the-scenes peek into the making of the piece. Host short live tours: a 10–12 minute session walking through a carousel, explaining decisions and answering questions. These sessions convert passive likes into meaningful relationships.
Micro-merch and anchors
Create small, tactile takeaways that echo your exhibition — stickers, prints, or a one-page zine of the carousel. Dreamina’s sticker maker is surprisingly useful here: translate your exhibition emblem or a tiny process sketch into a physical token that you can mail to collaborators or include in bid packages. These micro-objects make the online experience tangible and memorable.
Professional etiquette
Galleries are welcoming when they are accessible. On LinkedIn, that means clear alt text for images, readable font sizes on graphics, and captions that summarize visuals for those who can’t see them. Keep the tone generous and inclusive — an exhibition that feels snobby will drive away the very conversations you want.
Formats and playful constraints
Limit sometimes breeds creativity. Try these formats:
- The single-object post: one image, one story, one question
- The mini-essay carousel: five frames that read as paragraphs with visual chapters
- The diptych: two images that face each other — concept and consequence
- The annotated reveal: first frame shows the result, subsequent frames break down the craft
Rotate through formats to keep your “gallery” varied but coherent.
Measuring resonance beyond vanity
Track metrics that matter to gallery thinking: median comment length, number of thoughtful responses, shares that mention the post in their own thread, and follow-up DMs requesting collaboration. These signal that your work is prompting conversation, not just screen-time.
Collaborative exhibits and co-curation
Invite a colleague or client to co-curate a post. A dual perspective — designer + product manager or artist + researcher — enriches the exhibit and models professional dialogue. Tag collaborators, ask them to write a short placard, and then stitch the combined post into a carousel that alternates voices.
Workflow: making the gallery without the gallery budget
You don’t need a studio. Stage a clear surface, control light with a cheap reflector, and shoot from a few angles. For texture experiments and variant mockups, use quick AI-assisted moodboards and proofs; then schedule a short production day to capture the strongest directions. Dreamina helps you translate those early explorations into layout templates and exportable carousels ready for LinkedIn’s feed.
Closing the gallery for now
When you treat LinkedIn as a gallery, your professional storytelling becomes intentional, tactile, and lasting. You invite people to linger, to bring questions, and to remember details instead of skimming headlines.
Dreamina helps you prototype exhibits, refine visuals, and ship posts that feel curated — small public moments that add up to a distinctive professional presence. Build a room at a time, and let people wander through the story you choose to show.